Document Types
The first step in any Umbraco site is to create a Document Type. A Document Type is a data container in Umbraco where you can add Properties (data fields/attributes) to input data. Each Property has a Data Type like text string, number, or rich text body. Umbraco outputs the input data using Templates.
These are some of the most common properties you would add to a Document Type:
Page title
Sub Heading
Body Text
Meta Title
Meta Description
Creating a Document Type
To create a Document Type:
Go to Settings.
Select the … next to the Document Types in the Settings tree.
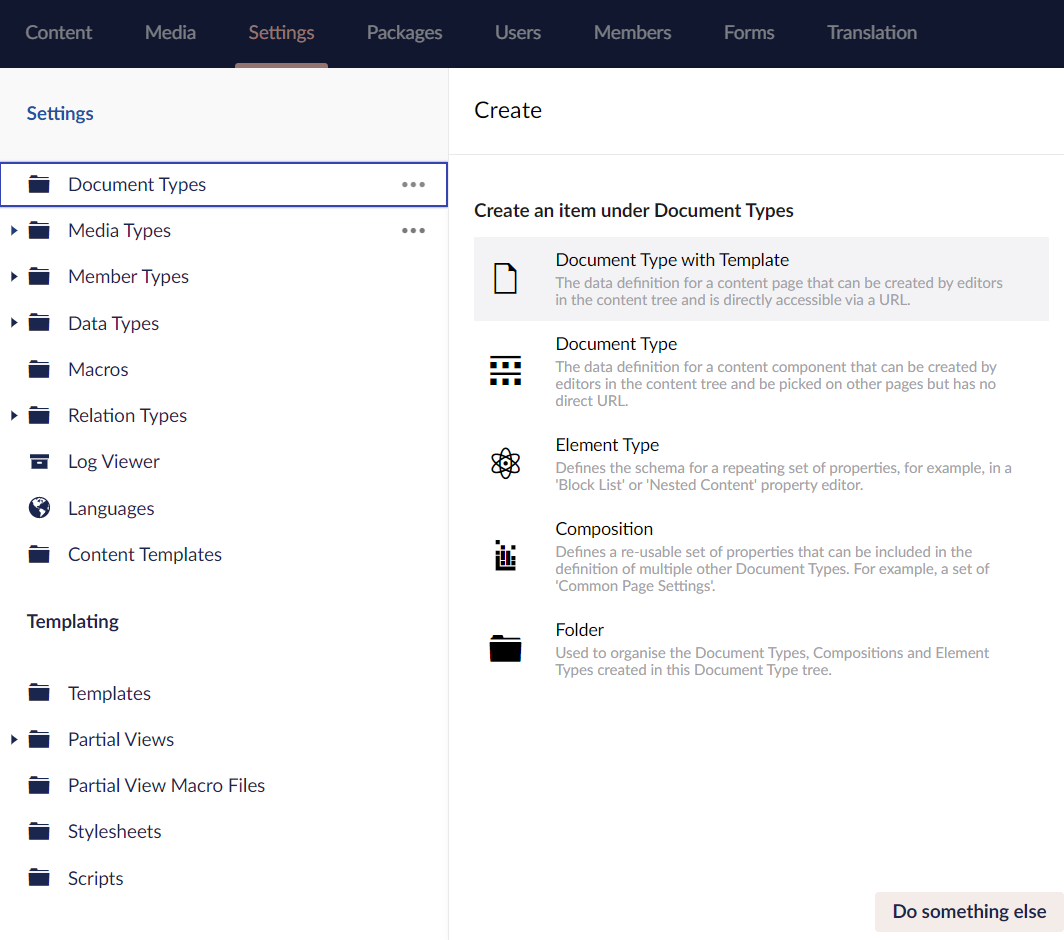
Select Document Type with Template.
:::tip Using folders can help you organise your Document Types. :::
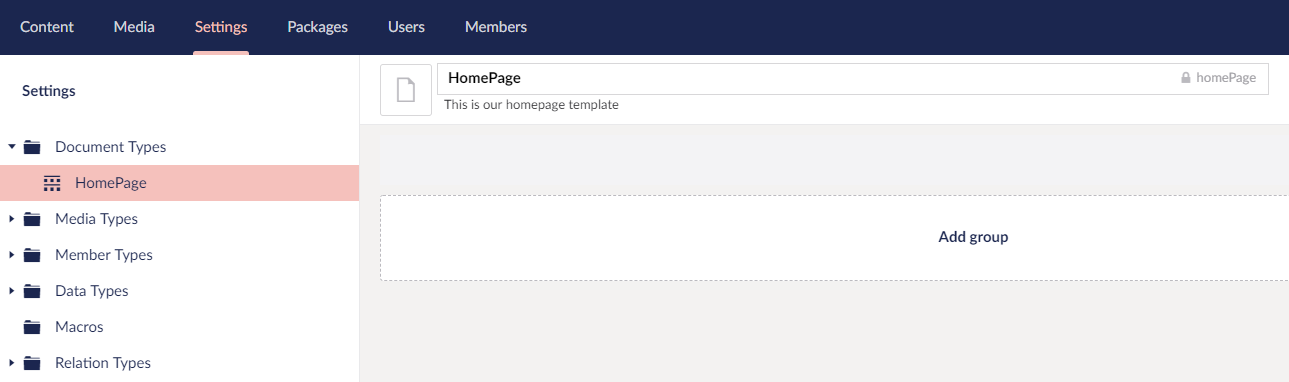
Enter a Name for the Document Type. Let’s call it HomePage. You’ll notice that an Alias is automatically created.
Enter the Description. For example: This is our homepage template. The description helps to identify the correct Document Type when creating new Content Nodes in the Content Section.
Click Save. Our new Document Type is now visible as a new item under Document Types.
Customizing the Document Type
Adding icons
With the help of icons, you can identify different Document Types in the Content Tree. To add an icon:
Select the icon placeholder next to the document name. The Select Icon dialog appears on the right-side of the website.
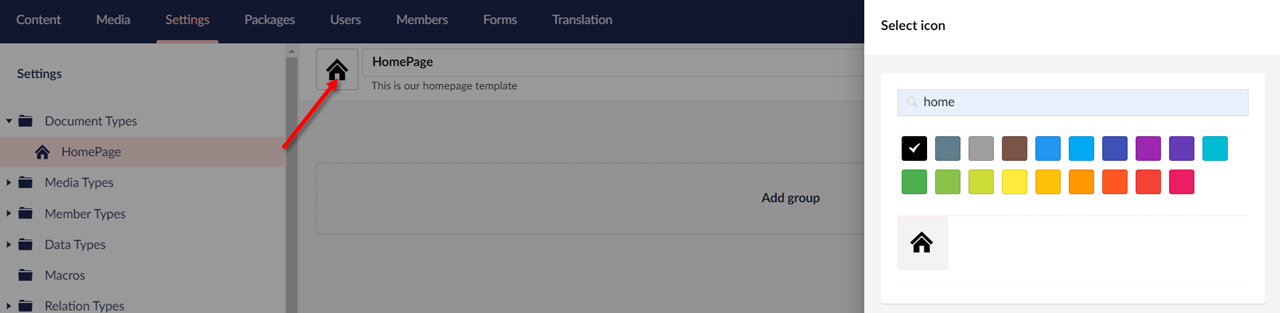
Browse through the icon list and selct the icon of your choice.
Click Submit.
Setting Permissions
To create a Document Type at the root of the Content Tree:
Go to the Permissions tab.
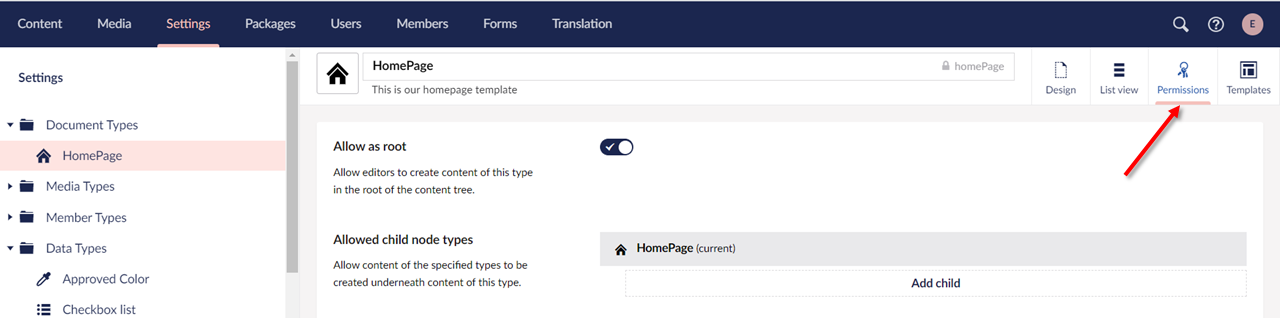
Toggle the Allow as root button.
:::note If your Document Types do not have the Allow as root checked, you will not be able to create any content on your site. :::
Click Save.
Adding Properties
To add properties to your Document Type, follow these steps:
Go to the Design tab.
Select Add Group and enter a name for the group. For this tutorial, we will call it Content.
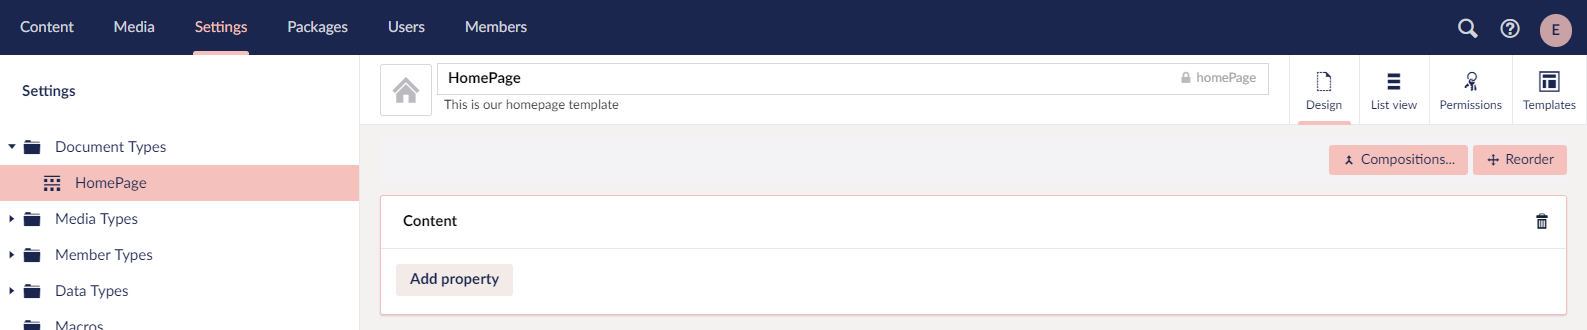
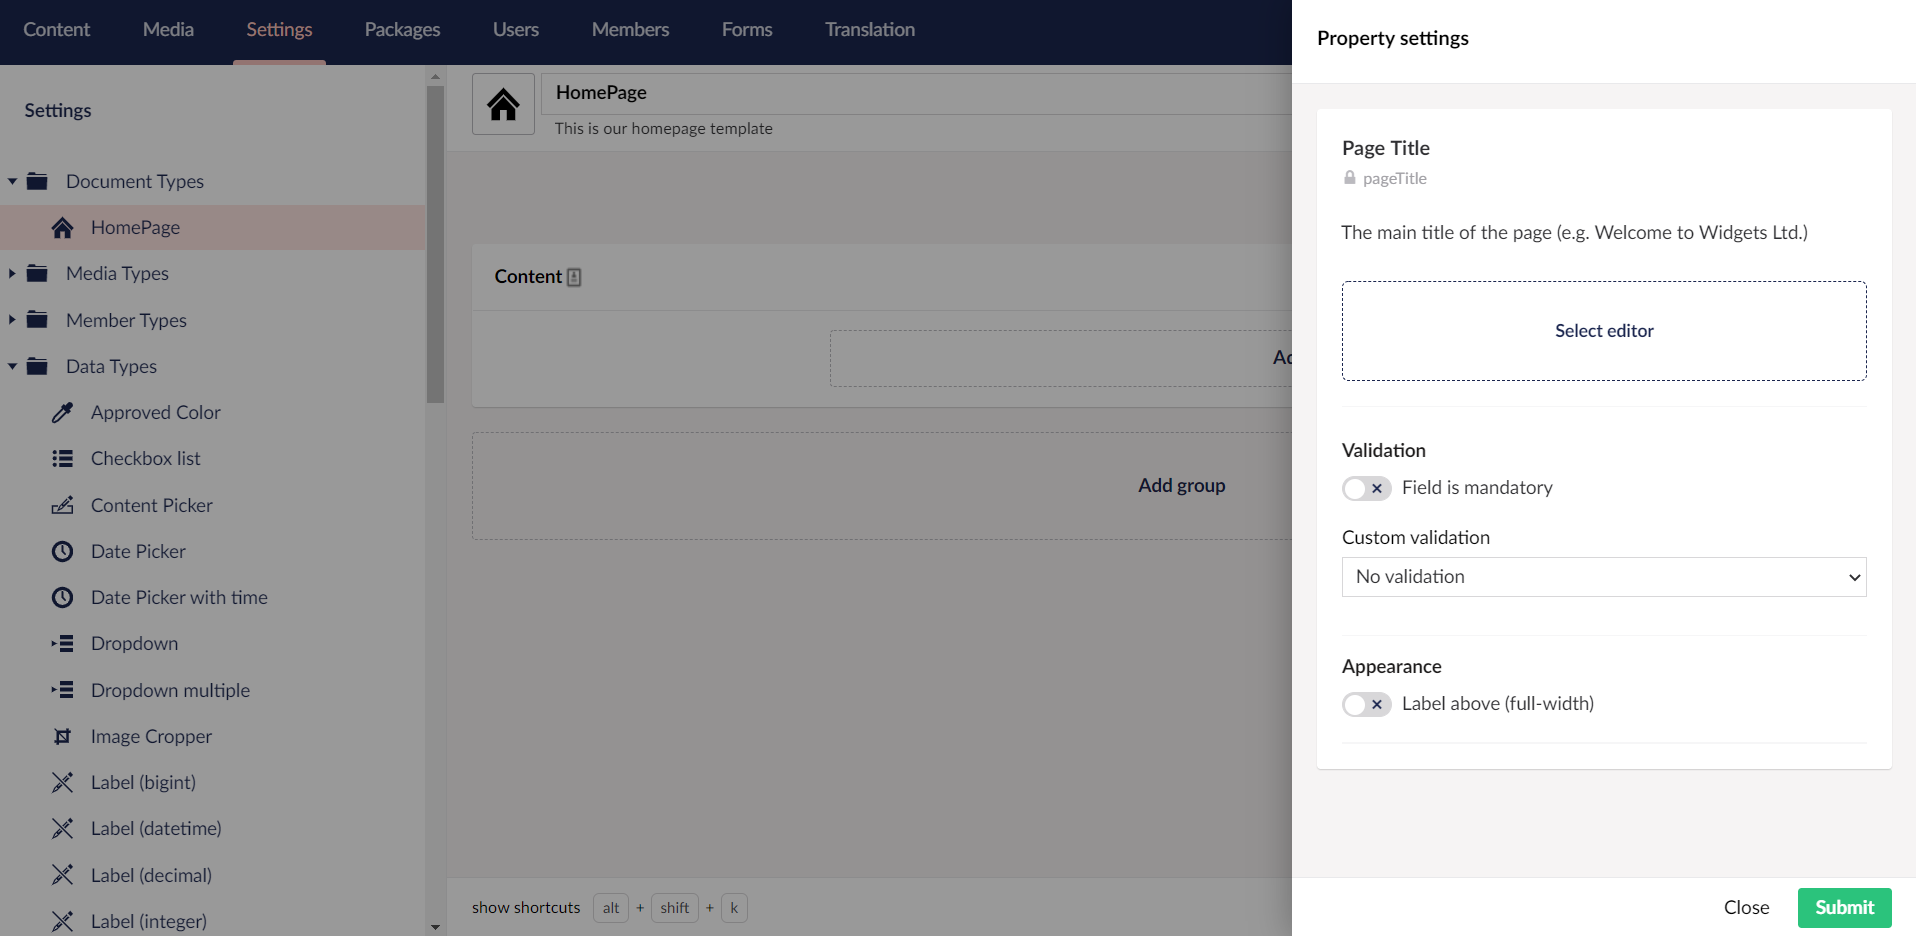
Select Add property. The Property Settings dialog opens.
Enter a Name. For example: Page Title.
Enter a Description. For example: The main title of the page (e.g. Welcome to Widgets Ltd.).
Select Select Editor and select the Data Type of your choice. We’ll add text in the search box and select the Textstring Data Type.
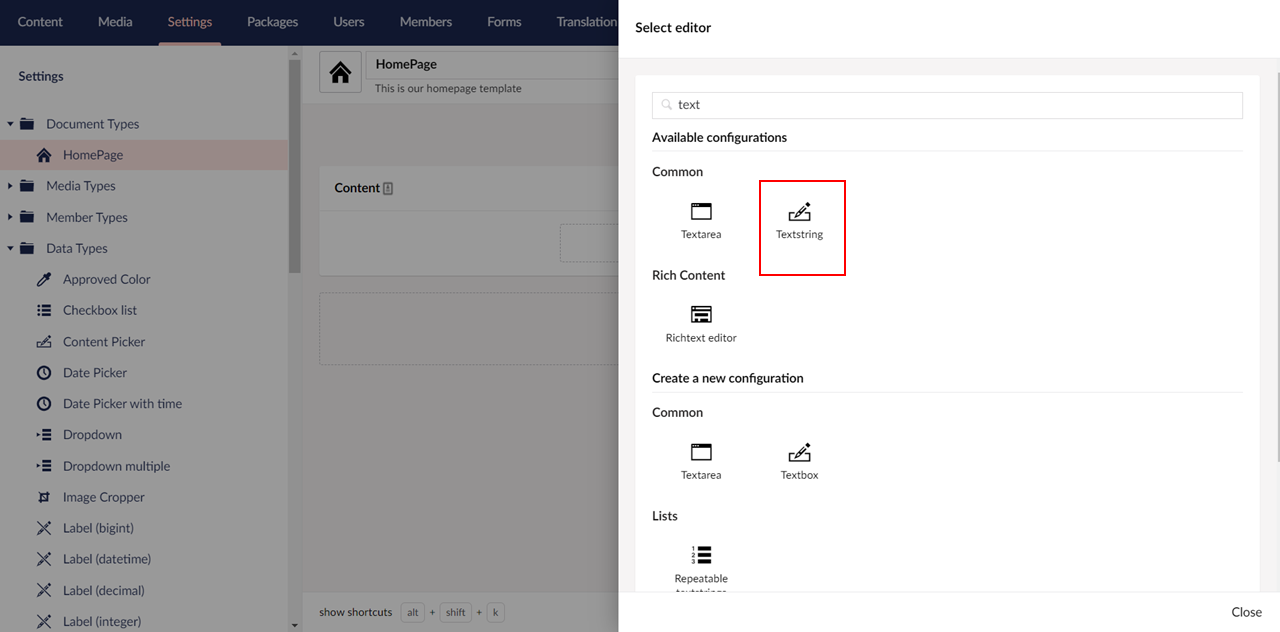
Click Submit.
:::tip Remember to come back and explore the list of Data Types later. :::
Repeat Steps 3 to 7 using the specification below:
Name
Body Text
Group
Content
Alias
bodyText
Description
The main content of the page.
Data Type
Richtext Editor
Select Add Group to create a new group called Footer. Repeat Steps 3 to 7 using the specification below:
Name
Footer Text
Group
Footer
Alias
footerText
Description
Copyright notice for the footer.
Data Type
Textstring
Your Document Type should now look like this:
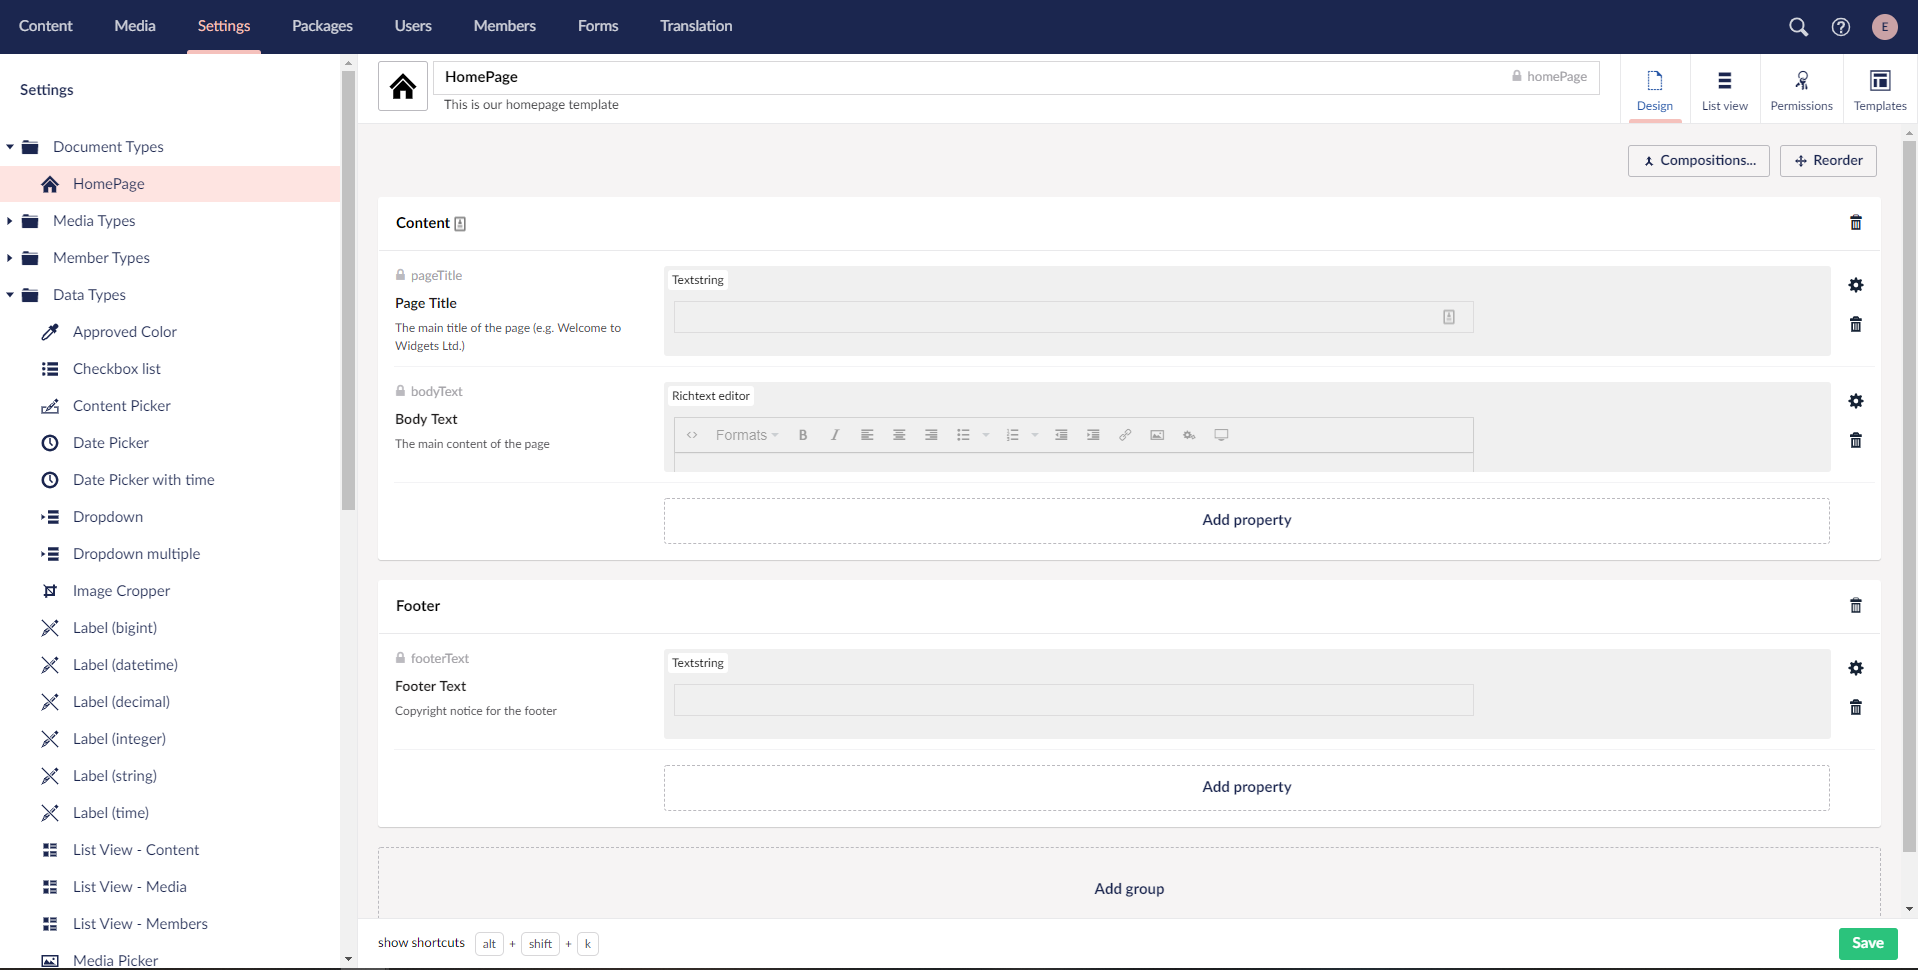
Click Save.
We’ve now created our first Document Type. Umbraco takes the data from an instance of the Document Type (also called as Content Node) and merges it with a Template – we’ll create our template next.
Prev: Getting Started Next: Creating Your First Template and Content Node